


It's Monday and, where I come from, that means "snack of the day". It's the day when we run around after school like crazy people, rushing from football to volleyball, getting home late and then eating dinner at some stupid hour of the night... about 8pm. Okay, so it's not Late late, but when kids have to get up at 6.45am for school (and that means their mother has to as well), it's late enough.With dinner time being relatively late, my family need some thing to fill their grumbling tummies in the meantime. Speaking of time, I seriously have to be out of the house in about five minutes with these tucked under my arm. I could forget the football uniforms and volleyball shoes, but forget SOTD and I'd never hear the end of it.
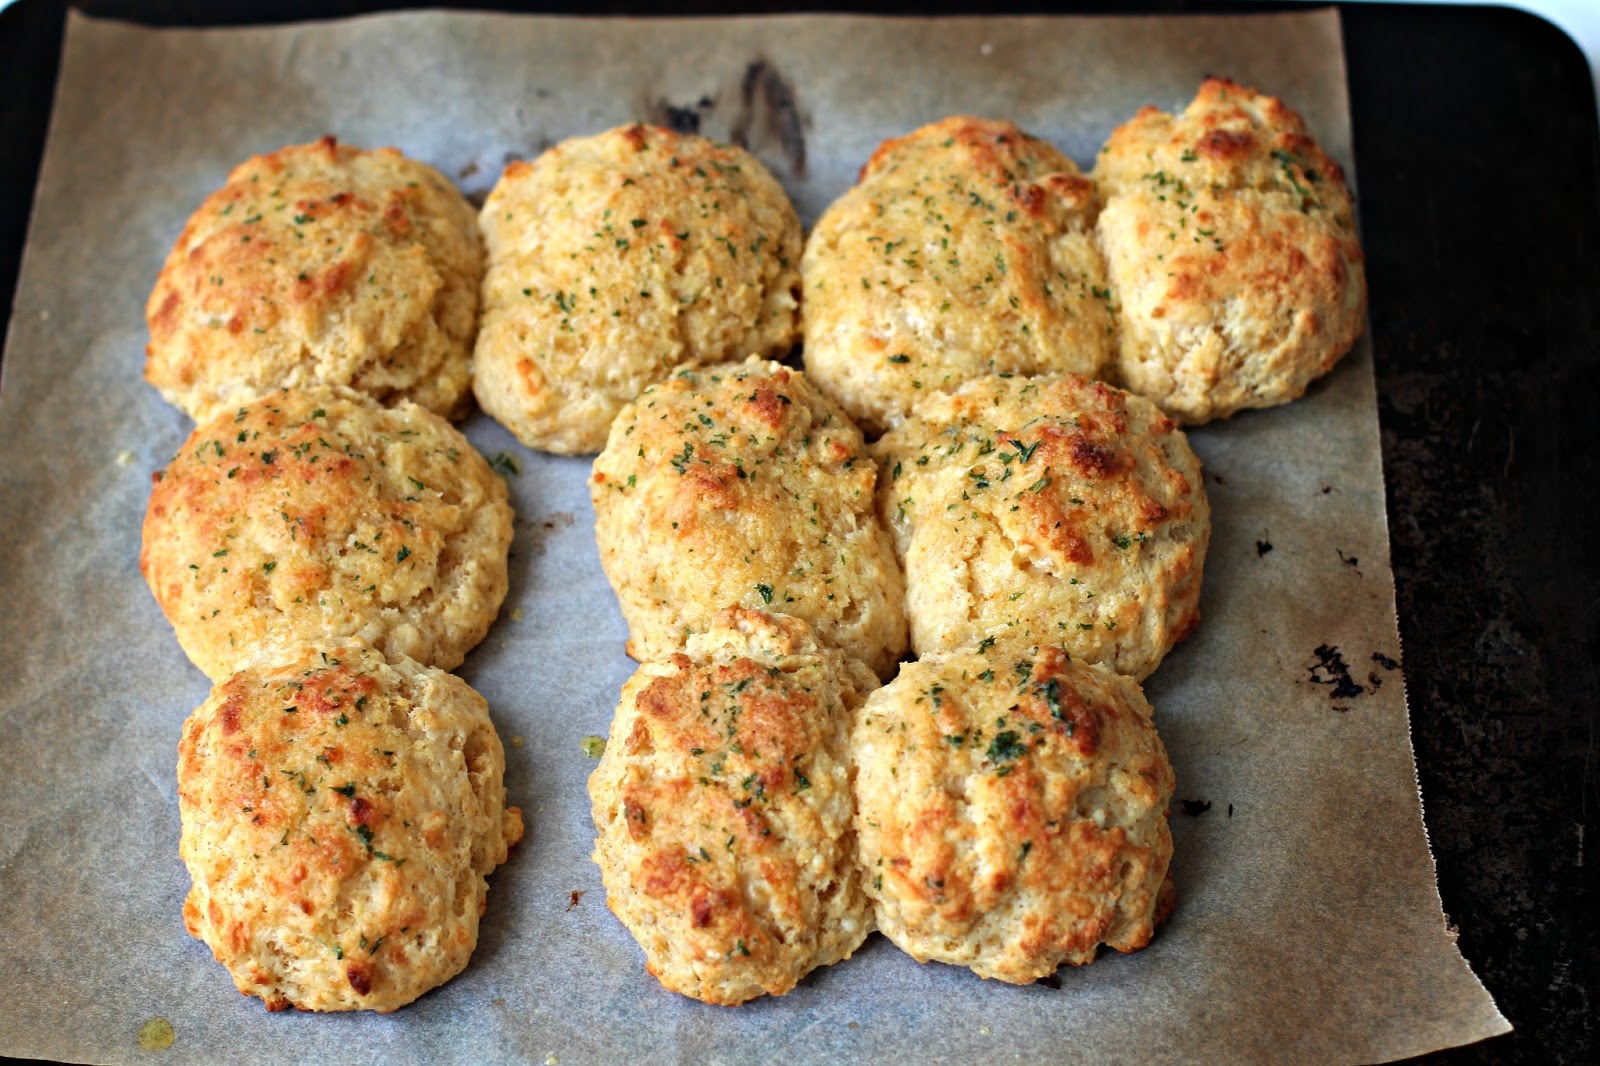
Cheddar Cheese Scones
slightly adapted from Brown Eyed Baker
Makes 10
Makes 10
For the Scones:
2 cups plain flour
2 teaspoons baking powder
1/2 teaspoon bicarbonate of soda
1 teaspoon caster sugar
3/4 teaspoon fine salt
1/2 teaspoon garlic powder
A pinch of chilli powder
1/2 teaspoon smoked paprika
1 cup grated cheddar cheese (I used Noble white cheddar)
1 cup buttermilk cold
115g unsalted butter, melted
For the Topping:
30g unsalted butter, melted
1/2 teaspoon garlic powder
1/4 teaspoon dried parsley flakes
Preheat your oven to a stongkingly hot 240 degrees C. Line a baking tray with baking paper and set aside.
Preheat your oven to a stongkingly hot 240 degrees C. Line a baking tray with baking paper and set aside.
In a large bowl, place the flour, baking powder, bicarbonate of soda, sugar, salt, garlic powder, chilli powder and smoked paprika and whisk together with a hand held whisk to combine and get rid of any lumps. Add the cheese and stir to combine.
In a separate bowl, stir the melted butter into the buttermilk until the butter seizes from the cold of the buttermilk and forms small clots. You will have a lumpy mixture. Don't panic, this is the way it's meant to be. The little balls of butter that have formed with make the scones light and flaky.
Add the buttermilk mixture to the dry ingredients and gently stir with a spatula until the mixture just comes together into a sticky dough.
Add the buttermilk mixture to the dry ingredients and gently stir with a spatula until the mixture just comes together into a sticky dough.
Using a 1/4 cup measuring cup, scoop out lumps of dough onto the prepared baking tray, leaving about 2cm between them to allow for spreading. I like mine to just touch each other when they're fully baked so that I can pull them apart. Bake for 12 minutes.
Meanwhile, mix the melted butter, garlic powder and dried parsley flakes together in a small bowl.
Remove the scones from the oven and immediately brush the tops with the melted butter/garlic powder/dried parsley flake mixture.
You know how I feel about scones and CHEESE! These look awesome!
ReplyDeleteP.S. Your guest post is up on my blog today and all I can think is COOKIES COOKIES COOKIES.
I need these in my life, asap!
ReplyDeleteI would seriously have a hard time not eating the ENTIRE batch. They look incredible!
ReplyDeleteThanks Marie. And thanks also for such a lovely introduction to my post on your blog - it was an absolute pleasure.
ReplyDeleteThanks for stopping by Pamela. We could all use a little more cheese in our life, yes?
ReplyDeleteHey Jessica - I had to hide them from myself.
ReplyDeleteThese look deeelicious! I love the combination of cheese and herbs. The flavoured butter on the top is a great addition! Wonderful snack.
ReplyDeleteoh so comforting when its cold outside, scones look perfectly browned and light, whats not to love in this delicious treat :-)
ReplyDeleteThanks Laura. The basting of herb and garlicky butter at the end really makes these.
ReplyDelete@Kurmars Kitchen. Thanks so much. You're so right about these being a perfect cold weather snack - great for having with a bowl of steaming hot soup.
ReplyDeleteThese ARE wonderful!
ReplyDeleteJust a minor point, though: The recipe instructions don't say where to add the cheese. For people who cook, that's not a problem. But if my husband, for example, were going to make these they'd end up with no cheese. Non-cooks follow directions to the letter.
Thanks!
Quite right Emily. All fixed now.
Delete