


Afternoon tea never tasted (or looked) so good. This cake is simple to make and even easier to eat. A dangerous combo I know but hey, let's live dangerously.
Flourless Salted Chocolate Cake - Gluten Free
adapted from here
For the Cake:
1/4 cocoa powder
1 cup almond meal
200g dark chocolate (70% cocoa solids), chopped
1/2 cup olive oil
1 teaspoon sea salt flakes
3/4 cup caster sugar
4 eggs, separated
1/4 teaspoon cream of tartar
For the Topping:
300ml whipping cream, whipped to soft peaks
200g fresh raspberries
Make the Cake:
Preheat the oven to 160C and grease and line a 23 cm x 13 cm loaf pan with baking paper. Set aside.
Put the cocoa powder and almond meal into a large mixing bowl and whisk to combine and break up any lumps. Set aside.
Put the chocolate and 1/4 cup of water into a heavy based saucepan and place over low heat, stirring constantly until the chocolate is melted. Whisk in the oil and salt. Add the almond mixture, half of the sugar and the yolks and whisk to combine.
Put the egg whites and cream of tartar into the bowl of an electric mixer fitted with the whisk attachment, and whip them until frothy. Add the remaining sugar and beat until firm peaks form.
Gently fold the whipped egg whites into the chocolate mixture in two batches. Pour the batter into the prepared pan and bake for 50 - 60 minutes or until a skewer inserted into the centre comes out with a few moist crumbs clinging to it. Let the cake cool in the pan for 15 minutes before transferring it to a wire rack to cool completely. The cake will sink in the middle as it cools.
Top the Cake:
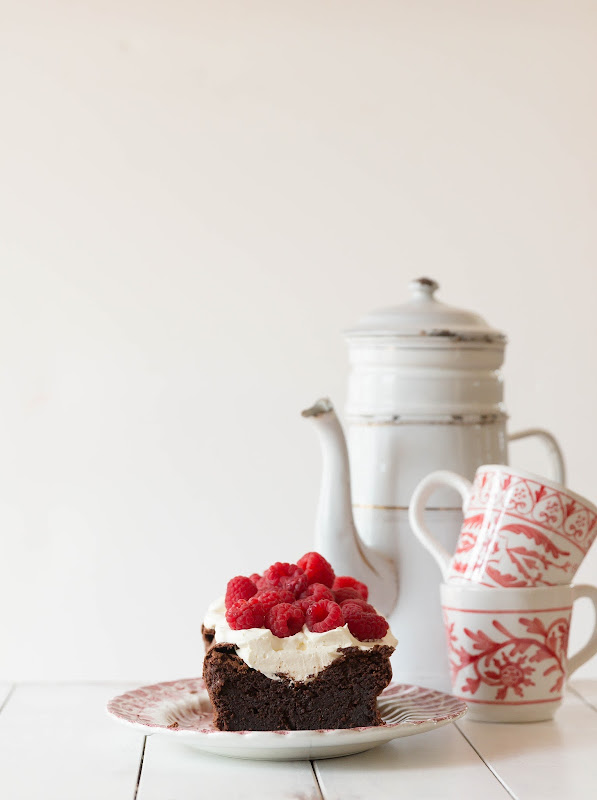
The cake will have a desirable hollow down the centre into which you can pile the whipped cream and strew with fresh raspberries. It will look like you just opened a white velvet-lined jewelry box filled with rubies and garnets.
This looks divine...I will be printing it out and giving it a try as soon as I have a bit of time! Thanks for the recipe and beautiful photos. Luscious!
ReplyDeleteHaha, I was about to comment on the friendly divot in the centre of the cake. I LOVE that sort of hollow, definitely perfect as vehicle for extra toppings. This looks gorgeous Jen x
ReplyDelete