Showing posts with label Sauces and Condiments. Show all posts

Monday, 28 September 2015

Orange and Vanilla Bean Marmalade


I have lots and lots of citrus trees, which means I have lots and lots of citrus fruit.  I use citrus everyday, but we can only eat so much and by the time we are finished the mature fruit, we have baby fruit coming.  I give lots of fruit away and have found lots of ways to preserve the fruit and making marmalade is an obvious choice. My marmalade adventures have been pretty successful to date, but I knew they could be better.  Little did I know up until now that the secret to the BEST marmalade is overnight "brining".  I know, who'd have thought? Soaking the skins in a salty solution makes perfect sense.  It pulls out the bitterness and tenderises at the same time.  Genius.  I'm going to be slapping this marmalade on everything from my toast to my muffins from this day forth.


Orange and Vanilla Bean Marmalade
adapted from here
Makes 5 - 6 cups

12 medium oranges (I used a mix of Navel Oranges and Blood Oranges)
2 teaspoons fine sea salt (I used Pink Himalaya Salt)
2 vanilla beans, split length ways and seeds scraped (You'll be using both the bean and the seeds)
Caster sugar, *half the weight of the contents of the orange mixture (explained below)
Juice half a lemon

Wash your oranges and cut the tops and bottoms off just until you get to the flesh.  Cut in half from top to bottom and cut a V to remove the white membrane out of the centre.  Discard the membrane and slice the oranges into half moons as thick or as thin as you like, removing and discarding any pips.  I like very thin skins in my marmalade so I made like a human mandolin and sliced those suckers super fine.

Put all your sliced oranges into a large bowl, sprinkle with salt, add the split vanilla pod and scraped beans and cover with enough cold water to just cover.  Cover the bowl with plastic wrap and leave in the refrigerator overnight.

The next day, pop a small plate into the freezer for testing your marmalade for setting point.

Weigh the contents of the bowl and pour it into a large, wide pan.  Weigh out half the amount of sugar (*eg. if your orange mixture weighs 1kg, you'll need 500g sugar).

Place the pan with the orange mixture over a high heat and bring to boil.  Add the sugar and keep at a lively bubble for about 30 minutes.  The mixture should start to darken and thicken slightly.

To set test for setting point, take the plate out of the freezer, remove the marmalade from the heat and spoon a dollop of it onto the cold plate and wait for about a minute. Push your finger through the marmalade. It has reached setting point when it wrinkles slightly. If it doesn't crinkle when you push your finger through it, return it to the heat and cook for a further few minutes and test again.

Once setting point has been reached, remove the pan from the heat and stir in the lemon juice.  Remove the vanilla pods and reserve.  Leave to sit for 10 minutes before spooning the marmalade into sterilised jars.  Leaving it to rest will allow the fruit to settle evenly.   Cut the reserved vanilla pods into 5 or 6 pieces.  Place a piece of vanilla bean into each jar and seal with lids.  Marmalade can be eaten straight away slathered onto anything buttered and not nailed down or stored in a cool place for up to 3 months.


Tuesday, 20 January 2015

Blood Plum and Vanilla Bean Jam


We had a big back yard when I was kid. The section of yard closest to the house had a porch and a pool and stretch of cool, green lawn. But the back of the yard was dedicated to my Dad's fruit and nut trees. There were apples, nectarines, cherries, chestnuts, hazelnuts, oranges, lemons and the most delectable peaches you have ever tasted. We were lucky... and well fed. But it was our next-door-neighbour's blood plum tree that my brothers and sisters and I coveted. On long summer days, we would stare over the adjoining fence at the fruit dripping like jewels from a starlets throat, just out of arms reach. Whenever our neighbours came to our house for afternoon tea, we would drop not-so-subtle hints about how blood plums were our favourite plums and how beautiful and productive their tree was. Eventually they would put us out of our misery and hand us a couple of buckets so that we could scramble around their back yard, fill our buckets with fruit and then sit on our porch and make ourselves sick eating our bounty.

Now that I am all grown up, I have a really, really big yard and I have my very own blood plum tree. I can go out into my yard and pluck a plum from the tree whenever I want and they taste almost as good as those longed-for blood plums from over the fence years ago.


Blood Plum and Vanilla Bean Jam
slightly adapted from here
Makes 3 500g jars

1 kg unblemished blood plums
120ml water
1 vanilla pod, split lengthwise
450g white sugar

Heat the oven to 120C to sterilise the jars. Slip a plate into the freezer for testing the setting point.

Wash the plums, cut them in half and remove the stones.

Put the plums, water and vanilla pod into a large heavy bottomed pan and place over a medium heat. Bring to a simmer and cook until the plums softened and start to break down, about 15 - 20 minutes.

Bring to a simmer and allow the plums to cook for 15-20 minutes or until soft and broken down.

Wash and dry the jars and place them in the heated oven while you get on the with jam.

Once the plums are cooked, gradually add the sugar and stir until the sugar has dissolved and the mixture becomes clear and shiny. Bring to a rolling boil and cook, stirring now and then until it starts to darken and thicken.

Take the plate out of the freezer. Remove the jam from the heat and spoon a dollop of it onto the cold plate and wait for about a minute. Push your finger through the jam. The jam has reached setting point when it wrinkles slightly. If the jam doesn't crinkle when you push your finger through it, return it to the heat and cook for a further few minutes and test again.

Once your jam has reached setting point, remove it from the heat and remove the jars from the oven. Remove the vanilla pod, cut it into three pieces add one piece to each jar. Fill each hot jar with the hot jam, leave 1cm head space. Place tops on the jars and allow to cool before storing in a cool dark place for up to a year.

Friday, 13 December 2013

Apricot Jam


You know how I was daydreaming about jam yesterday? Once I get an idea in my head...


Apricot Jam
Makes 3 x 500ml Jars

2kg fresh apricots, cut into small dice
1kg white sugar
1 1/2 cups water
1 lemon, peel, juice and pips

Pop a small plate into the freezer to chill. Heat the oven to 150 degrees C.

When the oven has come to temperature. Put the sugar into a large, high-sided roasting pan and put it in the oven for 15 minutes to heat up. Stir occasionally.

Peel the lemon, reserve the peel. Cut the lemon in half and squeeze the juice from the lemon, reserve the pips. Put the peel and pips into a square of muslin and tie it up with kitchen string to make a sealed pouch.

Put the muslin pouch, chopped apricots, lemon juice and water into a large pan over medium heat. Bring to a boil and then turn down to a lively simmer and cook until the fruit is tender, about 7 - 10 minutes. Don't overcook the fruit. Take the sugar out of the oven and pour it into the pan of fruit. Increase the heat and boil the mixture for about 15 minutes, stirring regularly so that it doesn't stick on the bottom of the pan and burn. Test for setting point by taking the small plate out of the freezer and pouring a teaspoon of fruit mixture on it. Leave it for a few seconds and run your finger through it. If it starts to wrinkle and seems thick and syrupy, it's at setting point and you can stop cooking it. If it's still thin and runny, keep cooking it until you reach setting point, testing every couple of minutes. Return the plate to the freezer between testing.

Remove the muslin pouch and discard. Pour the hot jam into sterilised jars. Keep in the refrigerator for 2 - 3 weeks or process them in a preserver to keep them for longer.

NOTE: A traditional jam recipe tends to use equal quantities of fruit and sugar. This jam only uses half the quantity of sugar to fruit as I don't like my jam too sweet. If you prefer your jam sweeter, then add more sugar. Jam made with more sugar will keep longer than jam made with less sugar as sugar is a preservative.


Thursday, 3 October 2013

Spring Break Salsa


It's school holidays here and we have been out and about trying to cram as much fun into the sunny days. But it hasn't been all sunshine. There have been cold, rainy, windy days - typical Spring weather. On those days we invoke the Blu Ray clause and curl up on the sofas, chin-deep in pillows and let the likes of Robert Downey Jr and George Clooney and Brad Pitt entertain us while we eat chips and salsa. It's great that we can have some down-time to just chill-out and get an eye-full of Messrs Downey, Clooney and Pitt... and by we, I mean me.


Spring Break Salsa
adapted from The Pioneer Woman
Serves 6

1 x 400g chopped tomatoes
1/4 cup pickled jalapenos
1/4 red onion, chopped
1 clove garlic, minced
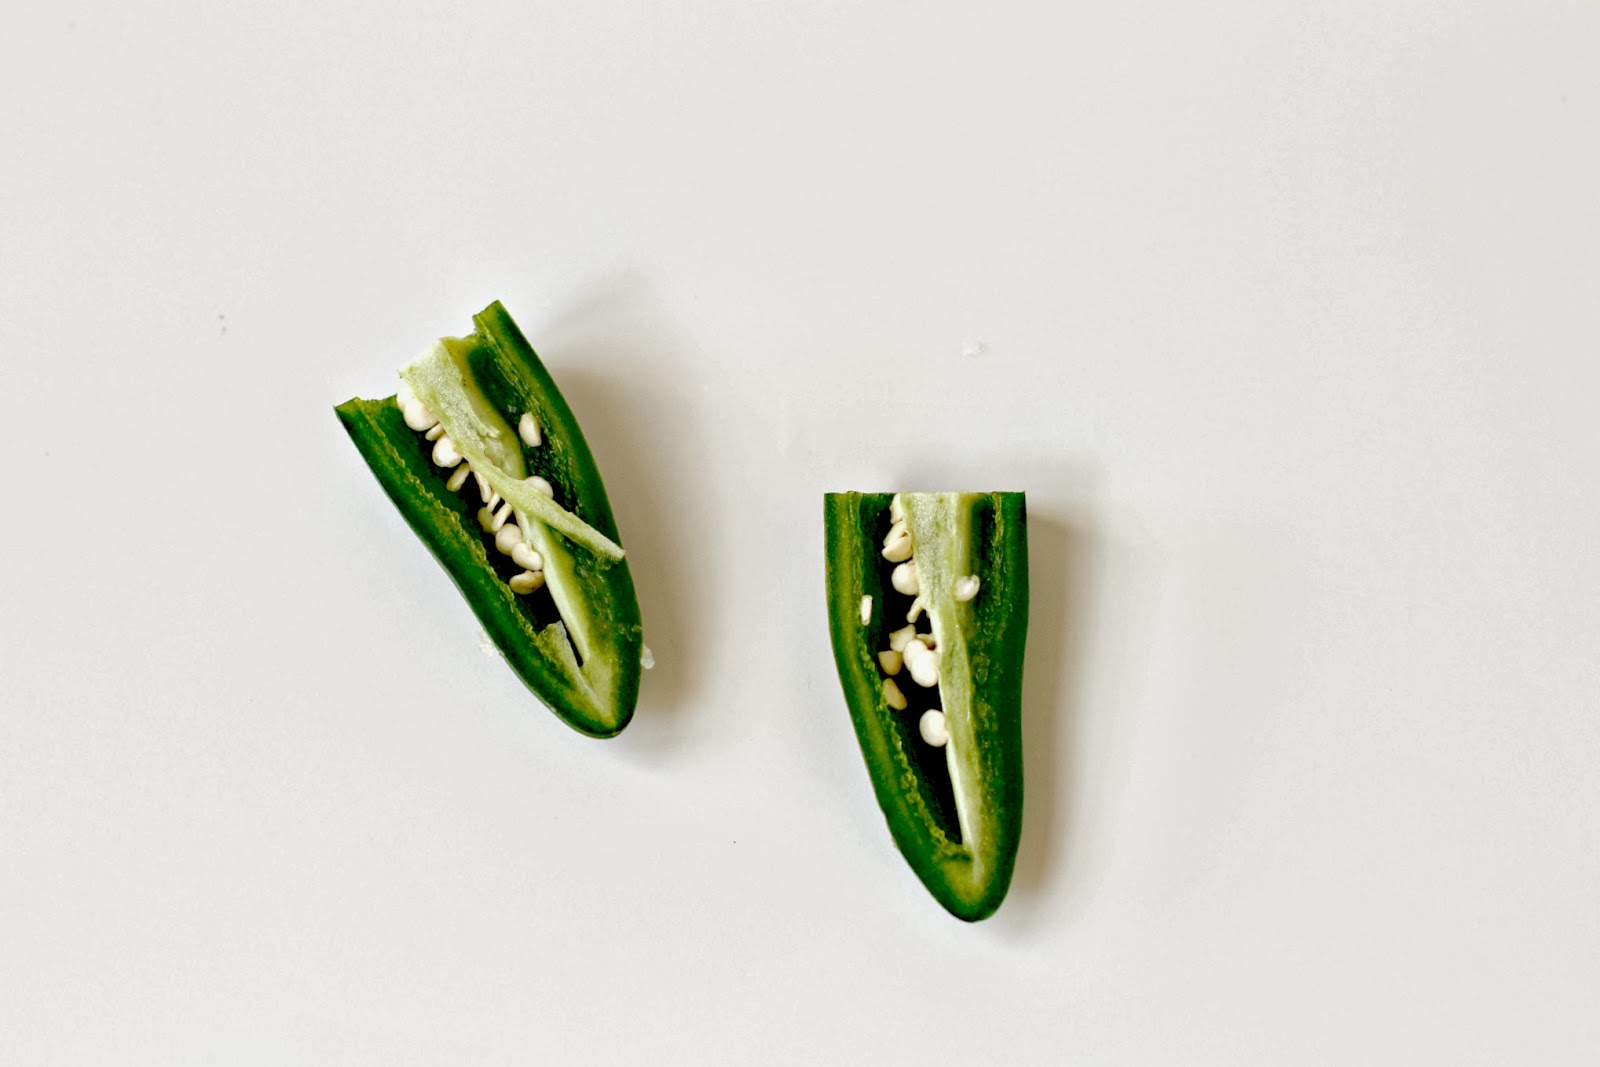
1 fresh jalapeno, chopped
Pinch sugar
Sea Salt flakes to taste
1/4 teaspoon ground cumin
1/4 cup coriander leaves
Juice of 1/2 lime

Put all the ingredients into a food processor and pulse until it is chopped but not to fine. Check the seasoning and add more salt if needed.

Serve with tortilla chips.

Tuesday, 5 March 2013

Tomato Sauce


Note to self: When life hands you tomatoes, quit your whining about the over-supply of tomatoes and make tomato sauce.


*NOTE: This is one of those foundation sauces that I throw into my recipes year-round. If a recipe asks for a bottle of pasta sauce, passata, marinara sauce or canned tomatoes - this is what I'll often use. I've even used it as a pizza sauce. It's also invaluable for when you come home late and the family is starving . With a bottle of this sauce in the cupboard, a box of pasta hanging around and a chunk of Parmigiano-Reggiano in the refrigerator, you're only ever minutes away from the most comforting of dinners. I can tell you how many times it's saved me.


Tomato Sauce
adapted from Lidia Matticchio Bastianich's  Lidia's Italian-American Kitchen
Makes about 500ml

1.5kg ripe roma tomatoes
1/4 cup extra virgin olive oil
1 small onion, finely chopped
1/4 cup finely chopped carrots
1/4 cup finely chopped celery
4 fresh bay leaves or 2 dried bay leaves
Sea salt flakes
Chilli Flakes

Pass the tomatoes through a food mill fitted with the fine disc.

Whiz the onion, carrots and celery in a food processor until very finely chopped. In a medium-size nonreactive saucepan, heat the olive oil over medium heat, add the chopped vegetables and simmer until wilted, about 10 minutes. Add the tomatoes and bay leaves, season lightly with salt and chilli flakes, and heat to a simmer. Simmer the sauce over medium-low heat, stirring occasionally until thickened, about 45 minutes  Remove the bay leaves. Check the seasoning and add more salt and chilli flakes if necessary.

Serve stirred through pasta. Or bottle it, can it or freeze it for later use. *See note above.


Monday, 28 January 2013

Roasted Tomato Salsa


Australia Day means party time. And what's a party without salsa? Put on the music and break out the chips and beer.


Roasted Tomato Salsa
slightly adapted from Chow
Makes about 2 cups

500g Roma tomatoes, cored and halved
1 small red onion, cut into 5mm slices
2 medium garlic cloves, peeled and smashed
1 jalepeno chilli, stem removed
1 teaspoon sea salt flakes, or to taste
2 tablespoons coarsely chopped fresh coriander
1 tablespoon freshly squeezed lime juice, or to taste

Heat the grill (broiler) to high and arrange a rack in the upper third of the oven.

Place the tomato halves skin-side up on a baking sheet. Scatter the onion, garlic, and chilli around the tomatoes. Grill until the tomato skins start to blacken and blister, about 7 minutes. Transfer the vegetables to a blender, add the measured salt, and blend into a smooth purée. Transfer to a medium heatproof bowl and let cool to room temperature.

Stir in the coriander and lime juice, taste, and season with more salt and lime juice as needed. Serve with tortilla chips and beer. 

Thursday, 17 January 2013

Piquillo Pepper Butter


My family are seriously going to need some therapy some day and it will all be my fault. They have to wait for me to take all my photos before they are allowed to eat anything. The poor starving darlings have to watch me moving plates from one angle to another and assembling food this way and that before they can dive into their dinner. Sometimes I rush a plate away from under their noses, mid-bite, because I see the  "money shot".  That's pretty cruel considering we're talking burgers slathered with Piquillo Pepper Butter.

NOTE: The patties you see here are from my O.M.G. Burgers. I grilled split wholemeal rolls, smothered them with Piquillo Pepper Butter then topped them with O.M.G. Burger patties and sliced avocado. I may torment my family, but I do feed them well... eventually.


Piquillo Pepper Butter

125g unsalted butter, slightly softened
2 piquillo peppers, patted dry and chopped
2 cloves garlic, chopped
1 teaspoon chopped fresh thyme
1/2 teaspoon Spanish paprika
1/2 teaspoon sea salt salt
freshly ground black pepper


Blend the butter, piquillo peppers, garlic, thyme, paprika, salt and pepper in a food processor until smooth.